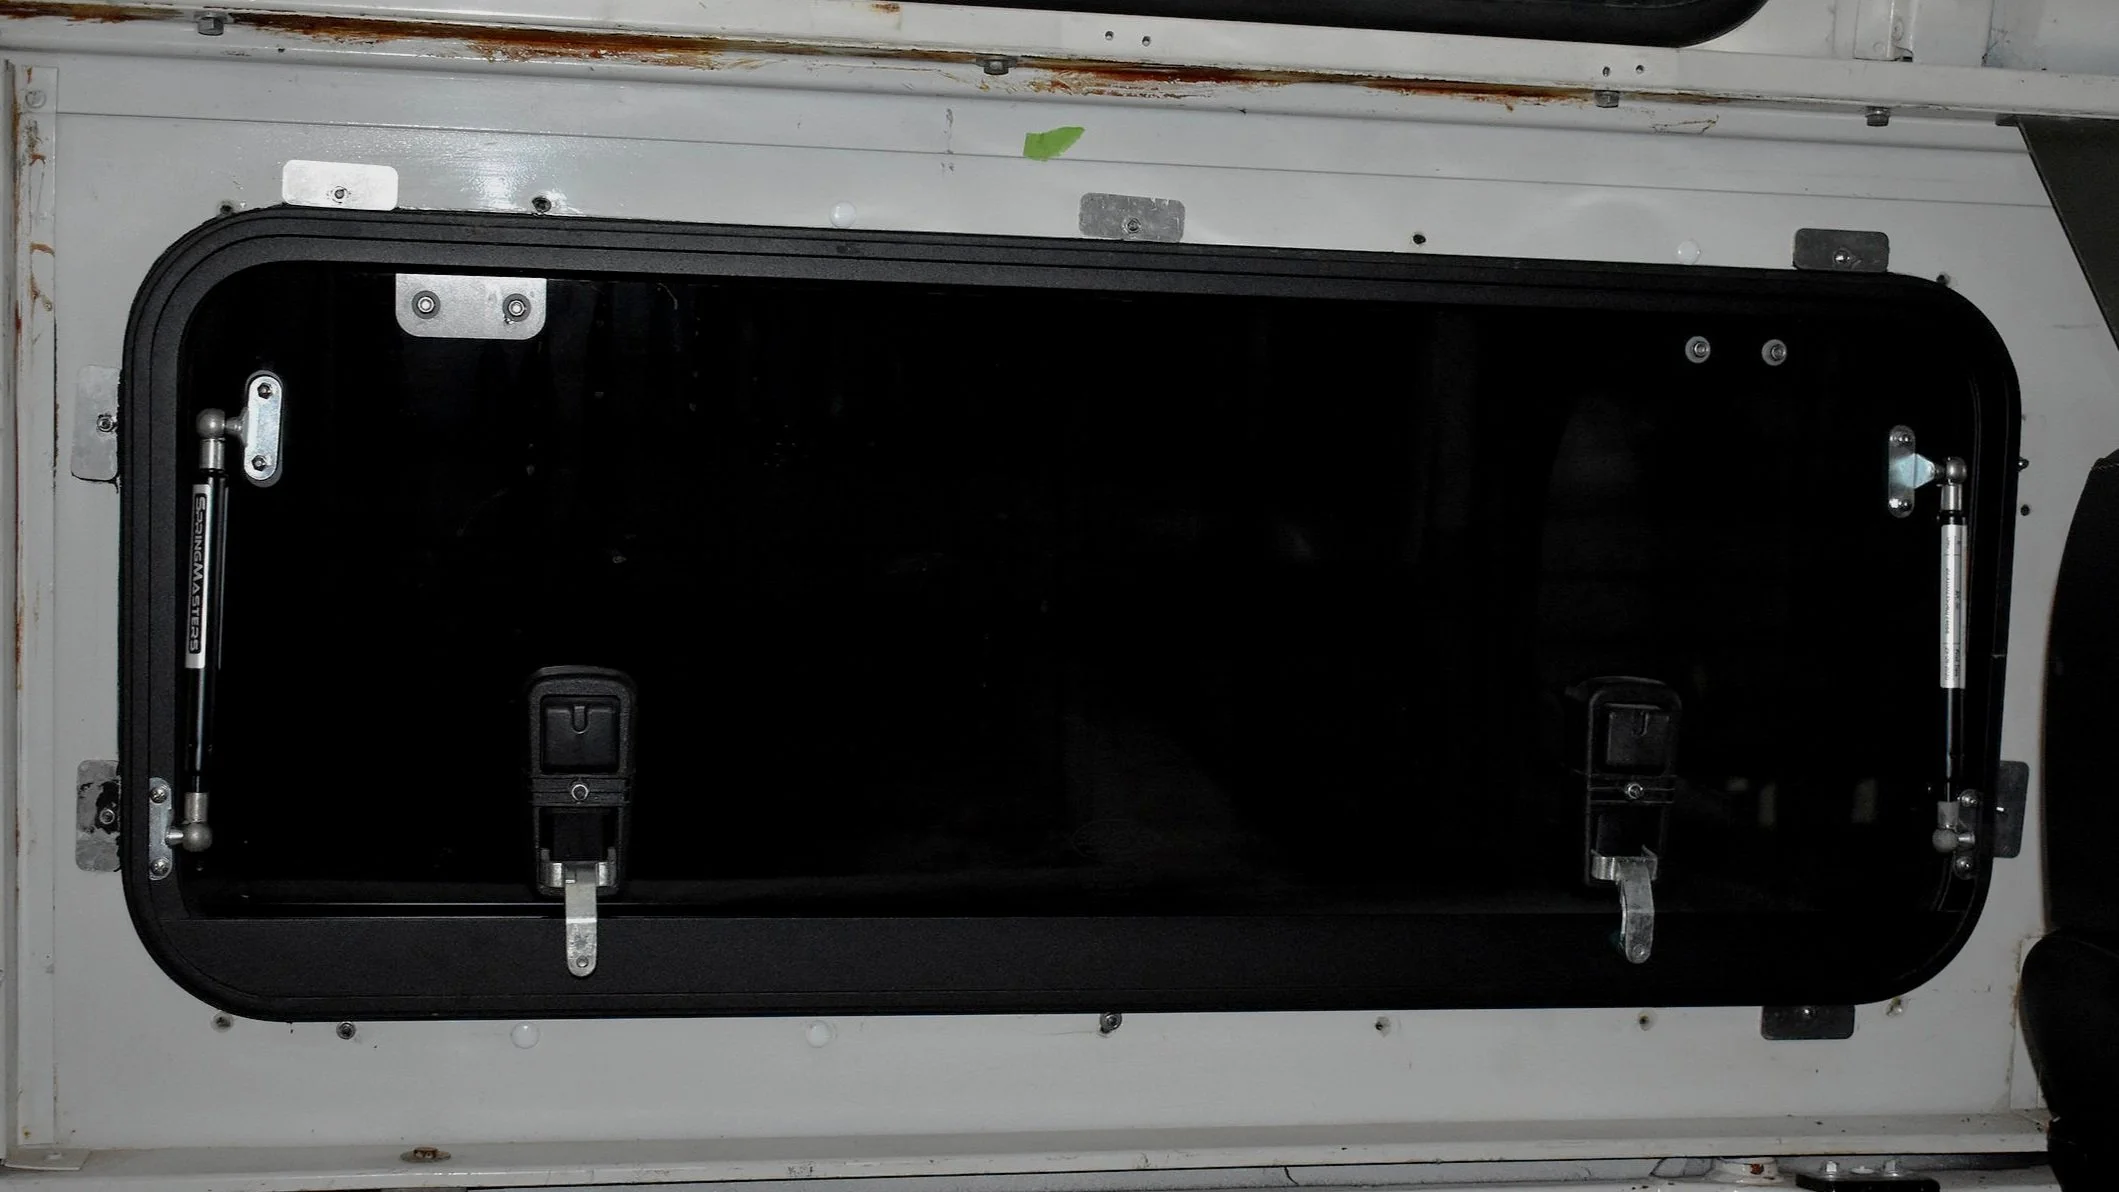
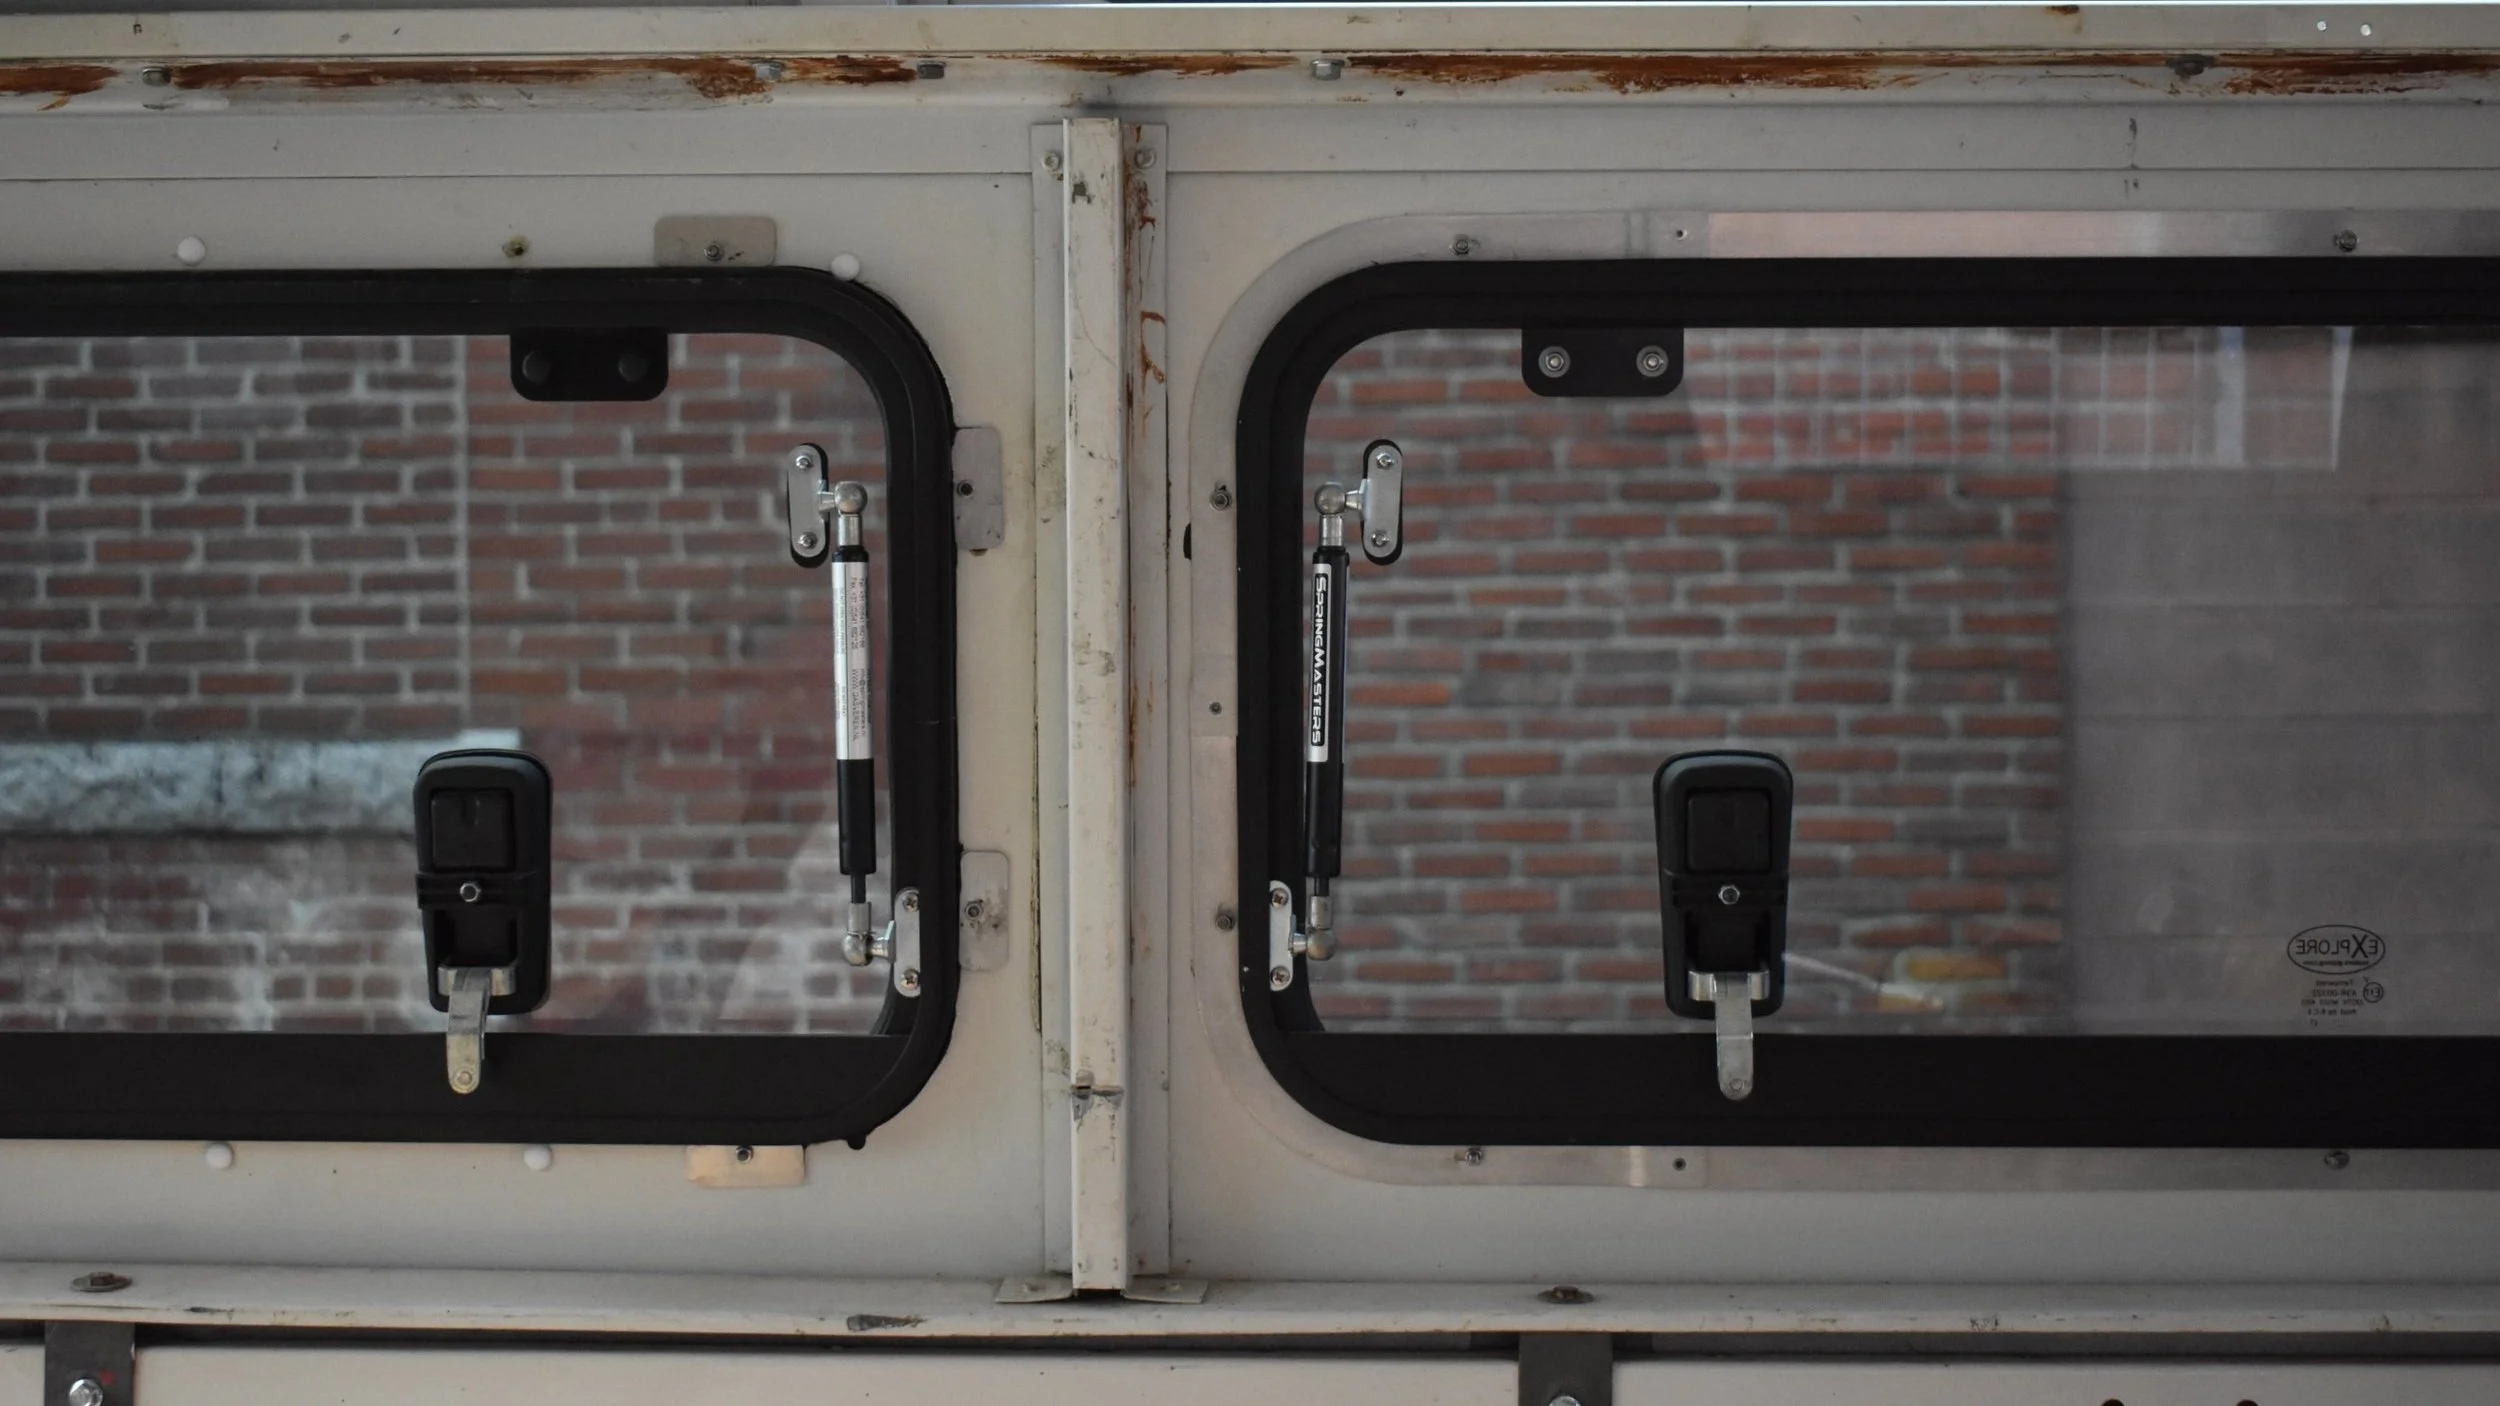
Custom Gullwing Window Trim
I get a lot of utility out of my Land Rover Defender 110 as a daily driver, camping rig, work truck and motorcycle hauler. The versatility offered by the gullwing style windows from Explore Glazing is great - the ability to reach into the truck to grab gear from anywhere on the exterior is super convenient. That said, for such a well engineered and executed product, the supplied backing plate mounting hardware was a let down. Especially on my build where these plates are exposed on the interior. I decided to make my own.
I mapped out the relevant geometry and mounting hole locations on the window using basic caliper and ruler measurements. Laser cut acrylic test pieces helped to rapidly iterate and perform high fidelity fit checks.
With the base geometry confirmed, I started refining the design. I briefly considered cutting the part as one single piece, which would simplify the design time but would be woefully wasteful from a material usage perspective. The final design consists of 6 pieces riveted together. The corner flat pattern is used to produce two unique corner piece configurations, and the straight and corner pieces are designed such that they can be mirrored for use top/bottom or left/right within the trim assembly. This methodology optimizes material usage (All four sets were cut from the would be scrap if it were cut as a single piece) - which had a huge effect on my overall cost for the project. 5052-H32 aluminum was selected for it’s formability, low cost and reasonable corrosion resistance.
I designed a forming jig to efficiently produce the jog bends in the flat parts with my arbor press. The jig also doubles as a drill fixture for locating the holes for the rivets. It’s designed for CNC milling but I opted to print the two halves from ABS filament rather than more typical PLA to give the tool some added strength. The ABS proved to be tough enough to perform the 24 bends needed to produce four trim sets.
I opted to use double flush rivets to join the parts together. This gave a finished look and a flush fit on both sides of the assembly, which is especially important on the side that contacts the truck. The end result gives a much more finished look and the increased contact surface area compared to the individual nut plates is an added benefit as well.
Contact me if you’d like to do the same. I’d be happy to share the CAD files for the flat patterns and forming/drilling jig.


